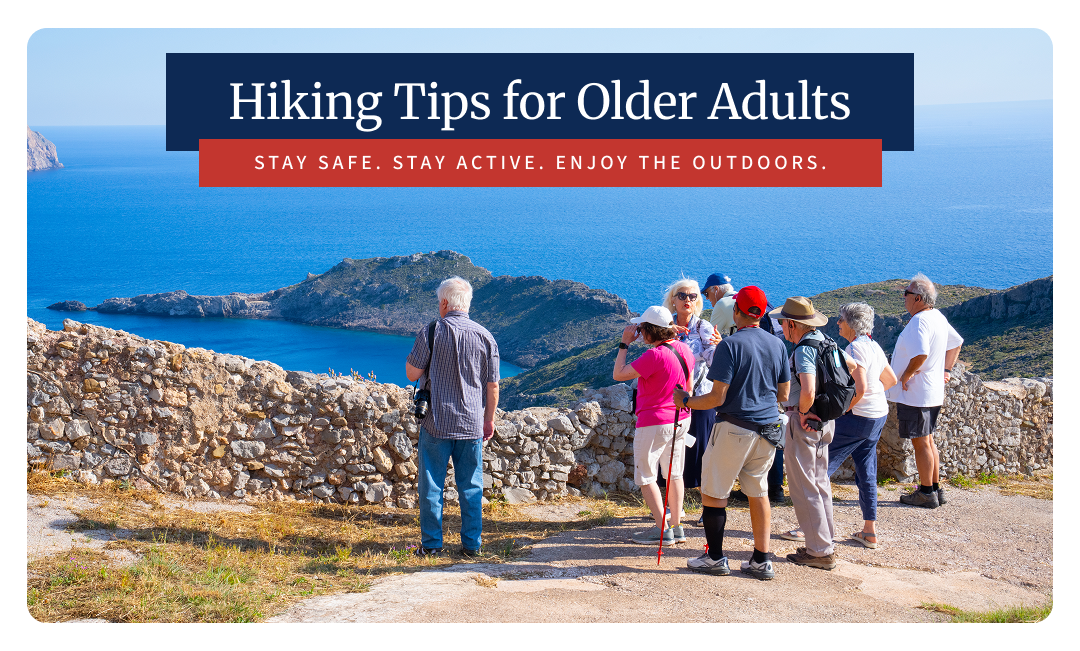
Hiking Tips for Seniors: Stay Safe and Enjoy the Outdoors

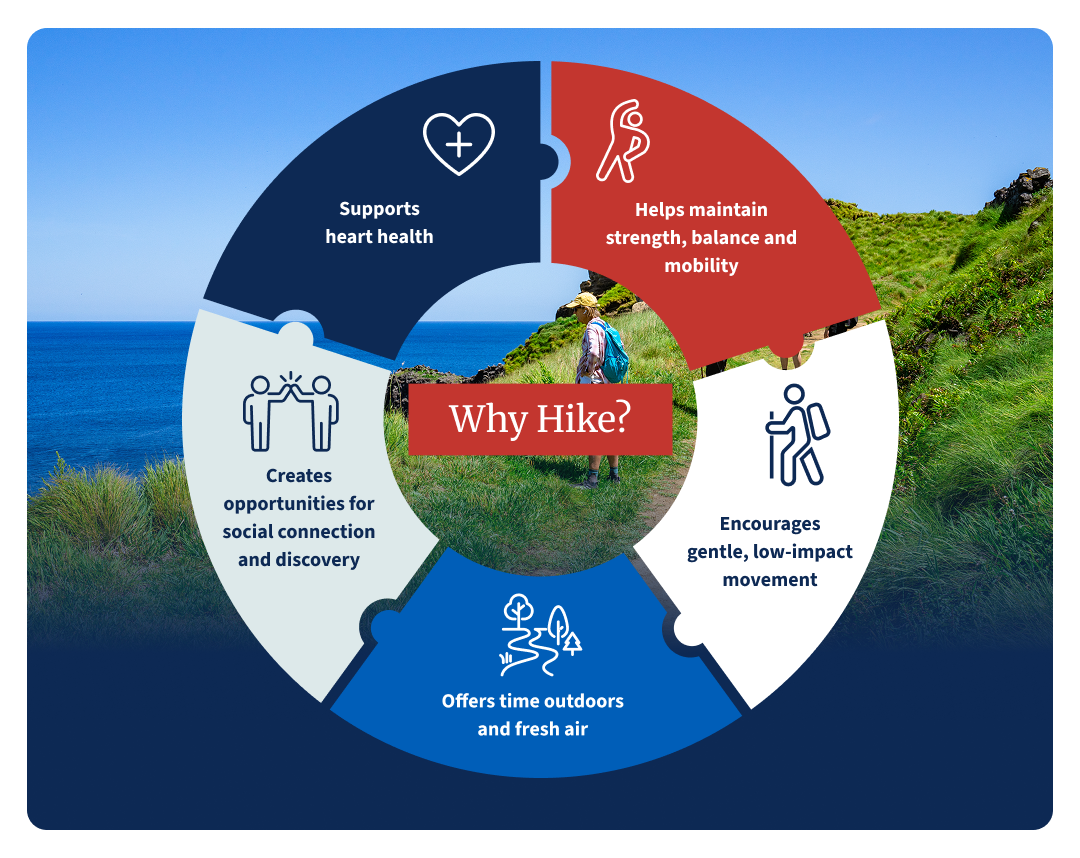
- Physical & Mental Benefits: Hiking boosts cardiovascular health, bone density, and balance, while decreasing stress and isolation for older adults.
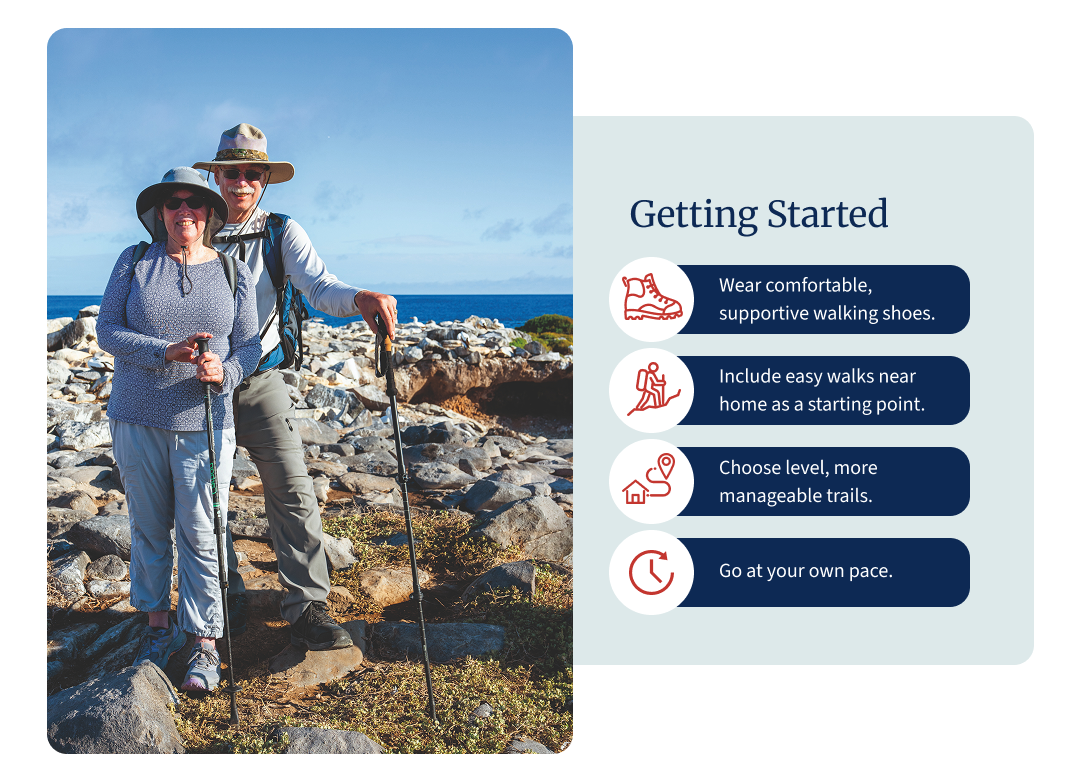
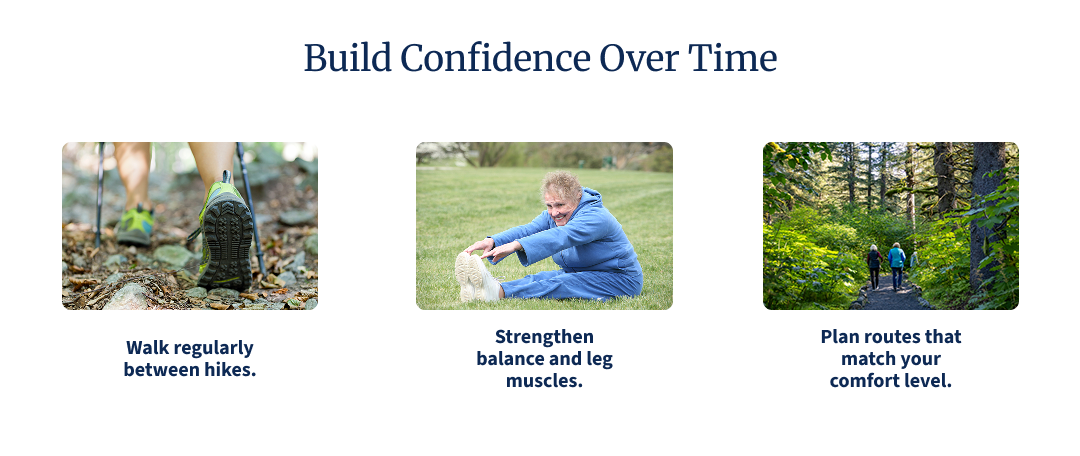
- Start Slow & Choose Wisely: Begin with gentle, well-maintained paths. Gradually increase difficulty over time to build your stamina and strength safely.
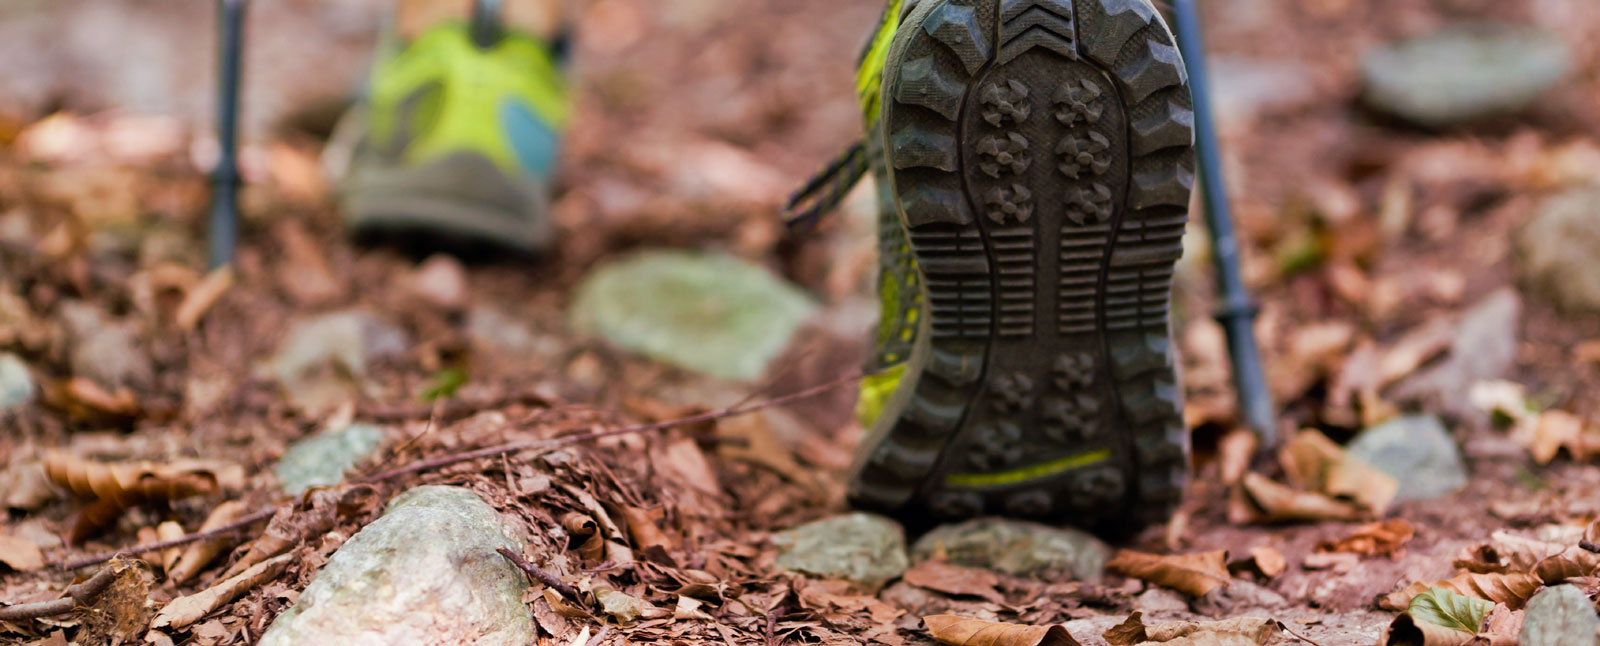
- Wear the Right Gear: Invest in supportive hiking shoes with good traction, breathable layers, and trekking poles to maintain stability and reduce joint strain.
- Prepare & Stay Safe: Condition your body beforehand, monitor the weather, stay hydrated, and always hike in a group or with a buddy for safety.
With the sun shining, the flowers in full bloom and the fresh summer air, now is the perfect time to head outdoors and get some exercise. Going on a hike is a great way to enjoy the warm weather and, when done regularly, can reduce arthritis, ease joint and knee pain, boost bone density, improve cardiovascular health and increase circulation. But the benefits don’t stop there: According to a University of Minnesota study, hiking can also result in a decrease of depression, isolation and loneliness, and can it can boost your sense of purpose.
But before you start thinking that hiking may be too difficult, don’t worry. Hiking doesn’t mean tackling Mount Everest; it’s absolutely okay to start small. You could just take a stroll through your neighborhood bike path or bring your dog on a nature trail walk. As long as you’re out in nature, you’ve gone on a hike.
So, have we convinced you to try it yet? To get started, we’ve partnered with Road Scholar instructor and expert hiker Jim Beeson to provide some hiking tips for seniors to get you out on the trails.
Why Hiking Is Great for Seniors
Senior hiking offers many benefits, ranging from physical benefits to improving your emotional and mental well-being. When venturing into the great outdoors, whether along the paths of Hawaii and the Pacific Coast or through the mountainous regions of Europe, you can get your heart pumping, strengthening your cardiovascular systems and reducing the risk of heart disease. Hiking for seniors also engages multiple muscle groups and strengthens bone density, which can help combat conditions like osteoporosis. Walking on varied terrains also promotes balance and coordination, helping to reduce the risk of falls as we age.
Along with its many health benefits, hiking tours for seniors immerse you in calming environments that foster a sense of peace and mindfulness. As you take in the sights, sounds and smells of wooded forests or seaside paths, you can feel stress hormones like cortisol drop, significantly improving your mood. When joining a hiking group, you’ll also be able to connect with other trekkers to form friendships and lifelong memories. From making new connections to strengthening bonds with friends and family, hiking is an excellent outlet for improving your overall well-being.

Top Hiking Tips for Seniors
Now that you know what makes hiking for seniors so rewarding, it’s time to lace up and get ready to hit the trails. Understanding practical information for hiking is crucial to ensuring a safe and memorable trek. Keep these hiking tips for seniors in mind:
-
Start slow and choose the right trail: One of the most important tips for older hikers is to start with easy, well-maintained trails and gradually increase difficulty as your stamina builds. Hiking can be taxing on the body, especially when navigating diverse terrains and varying altitudes. Being patient and starting slow allows you to strengthen your balance, coordination and muscles, providing you with more stamina to take on more challenging hikes in the future.
-
Wear proper footwear and gear: Wearing proper footwear is crucial. As you search for the proper footwear, look for supportive hiking shoes or boots that feature grippy lugs to increase traction on sleek paths and plenty of cushion and support to provide relief mile after mile. Having the right gear is just as important as your footwear. Invest in quality hiking poles to stay stable on the trails, along with breathable garments to wick moisture away to keep you comfortable.
-
Stay hydrated and protect against the sun: Another crucial hiking tip for seniors is protecting against the sun and staying hydrated. Wear a hydration pack to conveniently store fluids without weighing you down, or consider handheld water bottles that strap to your hands to remain secure. Sunscreen and a wide-brimmed hat are also must-haves on the trail, as they block the sun’s harmful rays to protect your skin.
-
Pace yourself and take breaks: To ensure a safe and comfortable hike, pace yourself. Take frequent breaks to rest, stretch and enjoy the surroundings. Listening to your body is one of the top tips for older hikers, as it allows you to check in with yourself to determine whether going forward or turning back is in your best interests.
Best Hiking Tours for Seniors
Put our hiking tips for seniors to use by exploring our trips around the globe. Our hiking tours for seniors connect you with knowledgeable guides who offer rich insights into the wildlife, history and geography of your destination, blending education with adventure.
-
Senior-friendly guided hiking tours: We have carefully curated collections of guided hiking tours designed specifically for seniors, where a guide leads the group on accessible routes and ensures safety. From exploring the volcanic archipelagos of the Azores in Portugal to paths throughout the Australian Outback, we have exciting hiking adventures for any interest and ability level.
-
National park hiking tours for seniors: The national parks in the U.S. are some of nature’s most exciting outdoor playgrounds. At Road Scholar, you can find senior-friendly hiking tours in national parks like Yosemite, Yellowstone, the Grand Canyon or the Great Smoky Mountains, each offering unrivaled views of landscapes that feature iconic landmarks like Half Dome and Old Faithful.
How to Prepare for Hiking as an Older Adult
Preparation is key when it comes to hiking as an older adult. Follow these tips for older hikers to ensure your safety:
-
Prepare your body and mind: Before taking an excursion to some of the world’s most breathtaking trails, prepare your mind and body leading up to your adventure. Walk regularly before hitting the trails, and focus on balancing and strength exercises to increase your endurance.
-
Know your limits: When it comes to senior hiking, knowing when to turn back on a trail if you feel fatigued is imperative. When on the trails, varying terrain and weather conditions can take a toll on your body. To ensure your safety, avoid pushing yourself beyond your comfort levels.
-
Use trekking poles for stability: Any trekker’s best friend is hiking poles. These poles help maintain balance and reduce strain on knees and joints to aid you as you navigate up switchbacks and down winding hills.
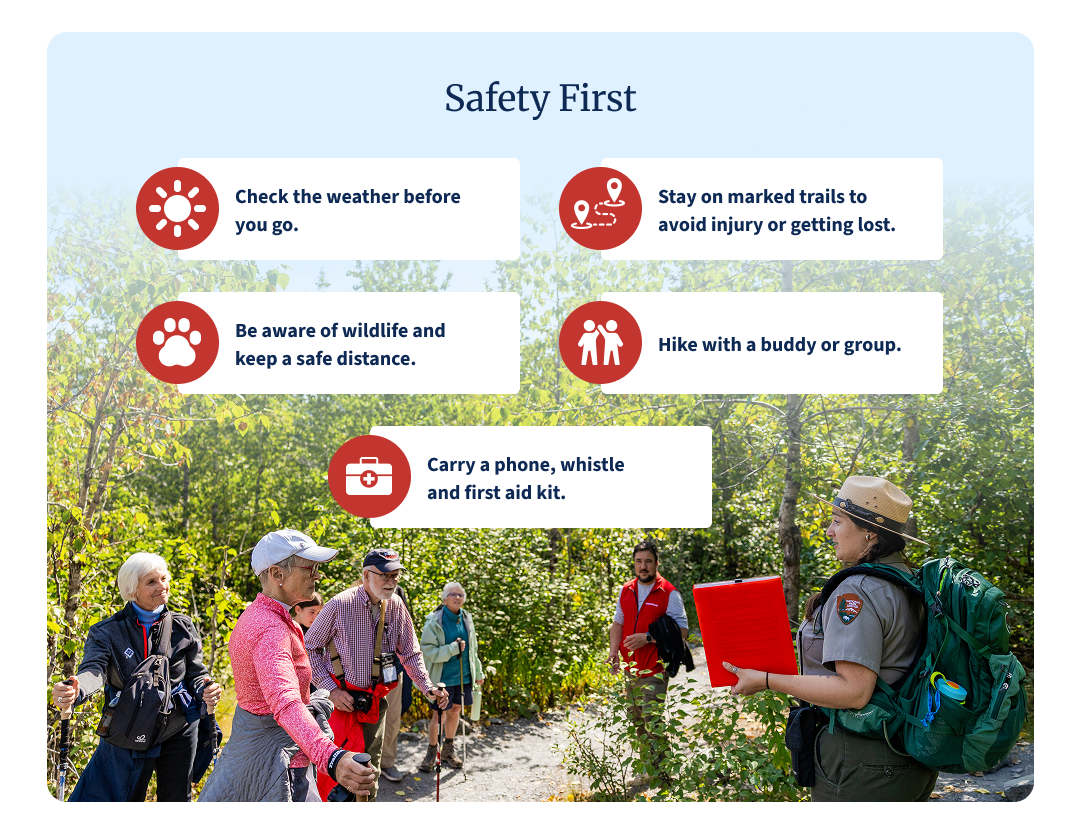
Safety Tips for Older Hikers
Staying safe is vital when it comes to ensuring a memorable hiking adventure. As an older adult, follow these safety tips to make the most of your trip:
-
Be aware of weather conditions: Weather conditions, whether hiking throughout the U.S. and Canada or the mountainous Swiss Alps, can vary significantly, with changes in weather happening in an instant. Before setting off on the trails, check weather forecasts and adjust plans based on weather conditions, such as avoiding hiking in extreme heat or blizzard-like conditions.
-
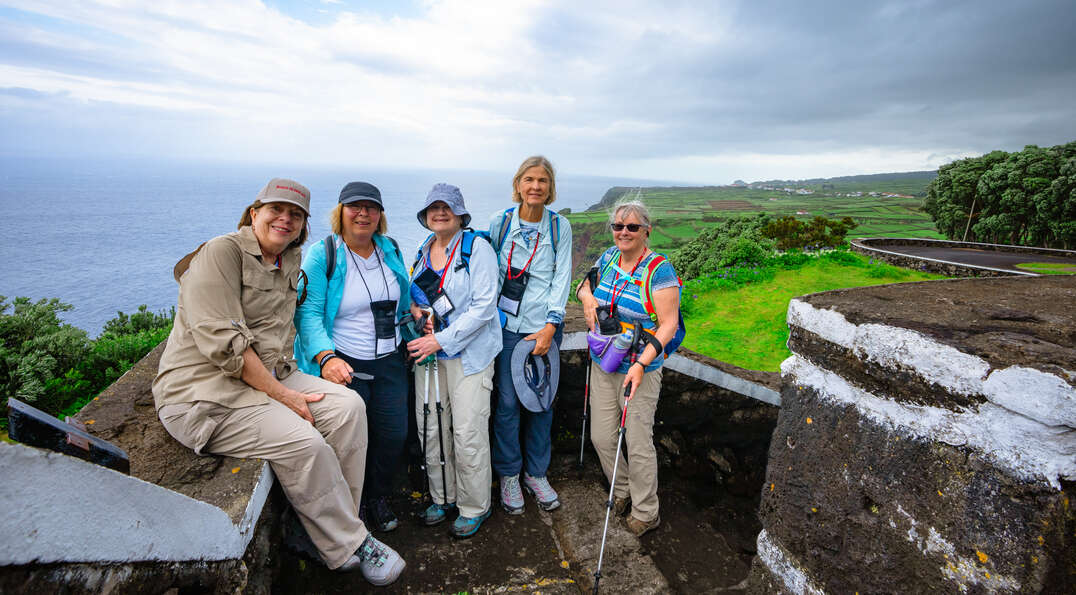
Hike with a buddy or group: At any age, hiking with a buddy or joining a group is recommended, as it provides safety and companionship.
-
Emergency preparedness: Have an emergency plan in place should the unexpected happen, and be sure to carry basic safety supplies, such as a whistle, first aid kit and a fully charged phone in case of emergencies.
Make the Most of Hiking with Road Scholar
Find an adventure with Road Scholar today and enjoy expert-led hiking tours tailored for seniors. With a focus on nature exploration, learning, and hiking with like-minded individuals, you can enjoy a one-of-a-kind hiking experience that matches your interests and ability level.

Get the full infographic here!

Share this infographic and embed it by copying and pasting the code onto your website:
As President of the Roanoke Appalachian Trail Club, Jim Beeson is dedicated to maintaining the Appalachian Trail and has a lot of experience hiking through its woods. In 2016, at age 61, Jim hiked the entire Appalachian Trail from Springer Mountain, Ga., to Mount Katahdin, Maine — over 2,000 miles and 14 states in just 5 ½ months. He’s currently a Road Scholar instructor for several hiking programs.